An introduction to wigmaking
![]() |
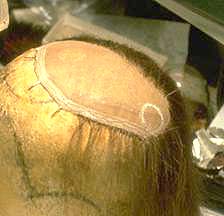
19. You start tying the wig in the back ribbon and work your way around the sides doing double knots. |
![]() | 20.
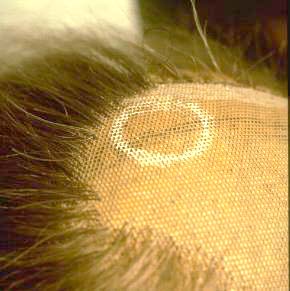
For the lace parts of the wig we only use single knots. The
ventilating is done using all six directions of the lace to
get a natural looking hair. It's important to make the root end of hair very short so the wig won't look too thick. |
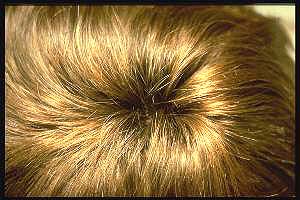
![]() | 21. Then you finish it by making the whirl and the parting. The very last step is to turn the wig inside out and put hair on the inside of the edge ribbons so they won't show. |
![]() | 22. When it's all done we sew in steel springs around the temples, the neck and forehead so it will fit nicely. |
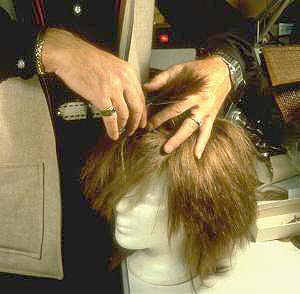
![]() | 23. The hairstyle is shaped with water and is left to dry. After this you cut it roughly. |
![]() | 24. Now it's time for final fitting on the customer If everything is ok you cut the hair one more time and finish for delivery. |
The expected life of handmade wig (without a lace front) is long. Cleaning and care
is done by the customer. |
|