How to make a wax doll
|
After I had received the plaster mask and I had been amazed by all the history I
now had in my hands I dared to make a cast of it in silicone. |
|
|
Now it was time to make the big mould that I was going to make the
wax head in. |
After an hour or so the first layer has hardened so much that you
can add another layer and build it to about an 2-3 cm in thickness.
|
|
|
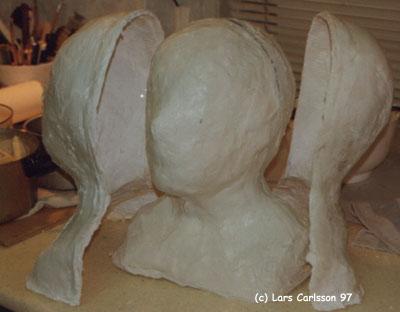
Here you can see the two piece plaster bandage mould I made on top
of the silicone mould so it would hold its shape when not supported from within. When making this
kind of mould it is very important to not get any undercuts. |
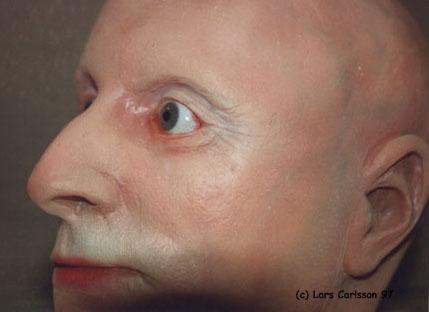
Time for wax. You melt the wax in a pot that you put in the oven. You can clearly see that one of his eyes is
lower than the other. This is not me being a bad sculptor. |
|
|
Now I have put the eyes in. The eyes are real prosthetic eyes and I bought them from an eye doctor. When they was in place I poured in a little wax to keep them in place. I have here started to paint my doll with an air brush using liquid acrylic colours. I always paint in layers and I start with veins and deep shadows like beard shadows. Then I put on the skin tones and different kinds of red tones to make him come alive. |
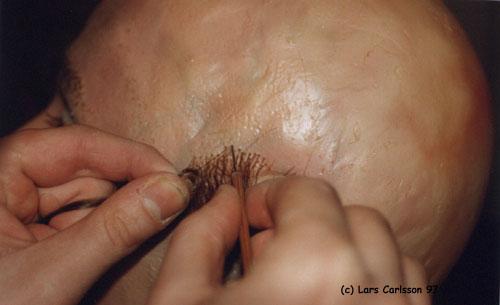
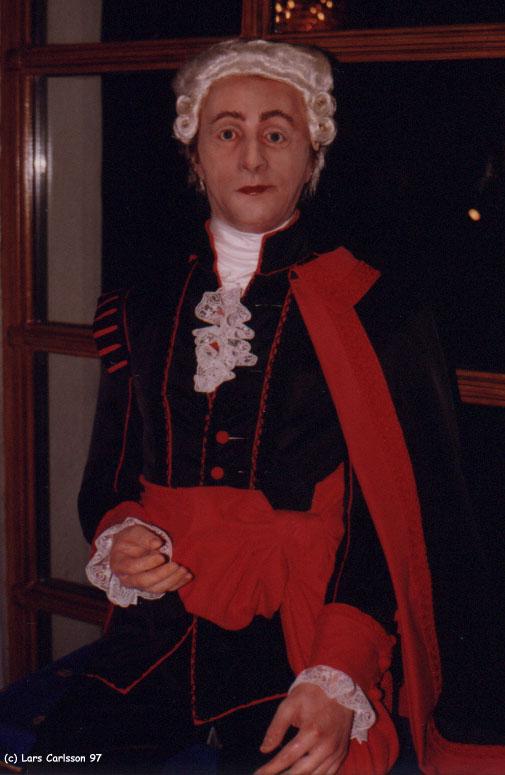
Now Gustaf needed to get some hair and this is solved by using a sawing needle with it's eye cut off, so that it looks like a small fork. With this you grab one straw at a time a punch it into the wax. You do the eyebrow and lashes the same way. |
|
|
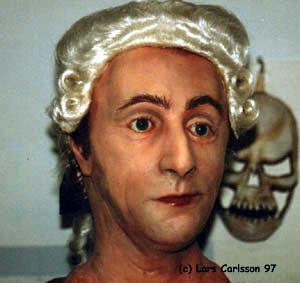
Now he is almost finished. I have made some colour corrections on the skin using standard grease paints from my makeup case. |
|
The body I made from a mannequin that originally was standing, but I
sawed it apart and put him back together again but now sitting down. I
used fiberglass with polyester resin, tape, some steel wire and a LOT of
patience. It was not fun! Fiberglass itches,
smells terrible and it a drag to work with in this kind of scale. Don't
do it! I won't do it again. |
|
| |


